Exchange 2010 lack support for UDP Notifications
Important News With Exchange 2010 SP1 RU3, UDP notifications has been re-added to Exchange 2010. This means that the below symptoms will be resolved...
Exchange 2010 Service Pack 2 includes a number of new improvements. For details on all of the features check out Technet. This post will walk through the steps to upgrade to SP2 from Exchange 2010 SP1.
Prerequisites:
There were two issues that I ran into while installing SP2 on all roles of Exchange 2010:
(These are the errors I experienced before stopping the Forefront services) Error:
Setup cannot continue with the upgrade because the ‘FSEAntispamSettings’ () process (ID: 5292) has open files. Close the process and restart Setup.
Click here for help… http://technet.microsoft.com/en-US/library/ms.exch.err.default(EXCHG.141).aspx?v=14.2.247.1&e=ms.exch.err.Ex28883C&l=0&cl=cp
Error:
Setup cannot continue with the upgrade because the ‘IsaManagedCtrl’ () process (ID: 3196) has open files. Close the process and restart Setup.
Click here for help… http://technet.microsoft.com/en-US/library/ms.exch.err.default(EXCHG.141).aspx?v=14.2.247.1&e=ms.exch.err.Ex28883C&l=0&cl=cp
IIS6 WMI Compatibility: To resolve the issue with the Client Access server install the IIS 6 WMI Compatibility pack. This must be done from the PowerShell because the GUI was greyed out for me.
1. Open Windows PowerShell with elevated permissions.
2. Run the following command: Import-Module ServerManager
3. Run the following command: Add-WindowsFeature Web-WMI 
Unhook Forefront from Exchange: Anyone familiar with the old Antigen products certainly remembers this process for updates to Exchange.

Once it is complete, you can install SP2 in your environment. It is possible to run SP1 and SP2 at the same time in your organization, but I am always a strong proponent of standardization, so I recommend upgrading all servers as soon as possible.
Order of Upgrade:
Schema Update:
The installation of SP2 includes a schema update. This can be run from the GUI as well as from PowerShell. I prefer to run it from the PowerShell so I can watch the status of the installation.
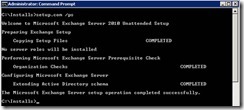
Begin the Installation:
2. On the Introduction Screen, click Next. 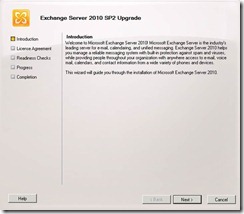
3. On the License Agreement screen, select I accept the terms in the license agreement. Click Next. 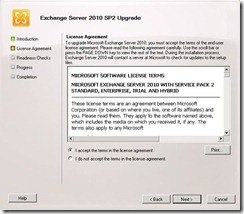
4. Once the Readiness Checks have completed you are ready to Upgrade. Click Upgrade. 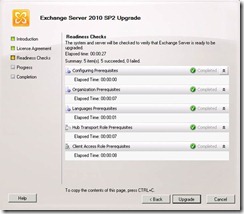
5. On the Completion screen verify that there were no errors and click Finish. 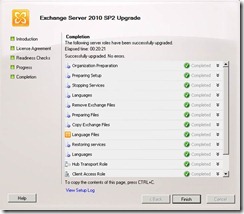
6. Once the server is updated with Exchange 2010 SP2, you will see the Version changed in Exchange Management Console. 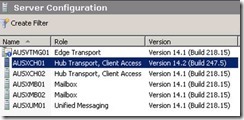
Important News With Exchange 2010 SP1 RU3, UDP notifications has been re-added to Exchange 2010. This means that the below symptoms will be resolved...
This article will discuss preparing your AD environment for Exchange Server 2010 SP1. Before installing Exchange 2010 into your AD environment you...
In my previous post on Upgrading from Exchange 2010 to Exchange 2013 on Windows 2012 (Part 1), we covered the prerequisites to installing Exchange...